Native Agents
Native agents are developed and imported into the watsonx Orchestrate platform. Each agent is composed of several key components:The large language model (LLM) that powers the agent’s ability to understand and respond to user queries.
Defines the prompting structure that the agent uses. This determines how the LLM interprets and responds to instructions. For more information, see Agent styles.
Defines whether the agent’s reasoning appears to the end user. When set to
True, the agent hides its reasoning from the user. When set to False, the agent displays its reasoning. The default value is False.Natural language guidance that is provided to the LLM. These instructions shape the agent’s behavior, such as adopting a specific persona (for example, a customer service representative) and explaining how to use tools and collaborators to solve tasks. For more information, see Writing instructions for agents.
Extend the LLM’s capabilities by enabling access to external functions and services. Examples include:
- OpenAPI definitions for external APIs
- Python functions for scripting more complex interactions with external systems
- Agentic workflows that orchestrate complex operations across multiple tools and agents
- Toolkit-exposed tools such as an MCP server
Other agents that this agent can interact with to solve more complex problems. Collaborators might be native watsonx Orchestrate agents, external agents, or watsonx Assistants. To learn how to connect external agents, see Connect to external agents.
A human-readable summary of the agent’s purpose, visible in the Manage Agents UI. It also helps other agents understand its role when used as a collaborator. Note: The description does not influence how the agent responds unless it is invoked as a collaborator. For guidance, see Writing descriptions for agents.
Represents domain-specific knowledge that is acquired by the LLM from uploaded files or connected vector data stores.
Specifies whether the Agent remains editable after import. This field accepts one of the following options:
editableSets the Agent as editable. This is the default value.non_editableSets the Agent as non-editable and prevents it from being exported.
Additional features of native agents
Customize your agent by configuring additional features to better match your specific needs.Web chat configuration
Use web chat configurations to customize how your agent behaves in the web chat UI. Set up a welcome message and starter prompts to guide users from the start.Welcome message
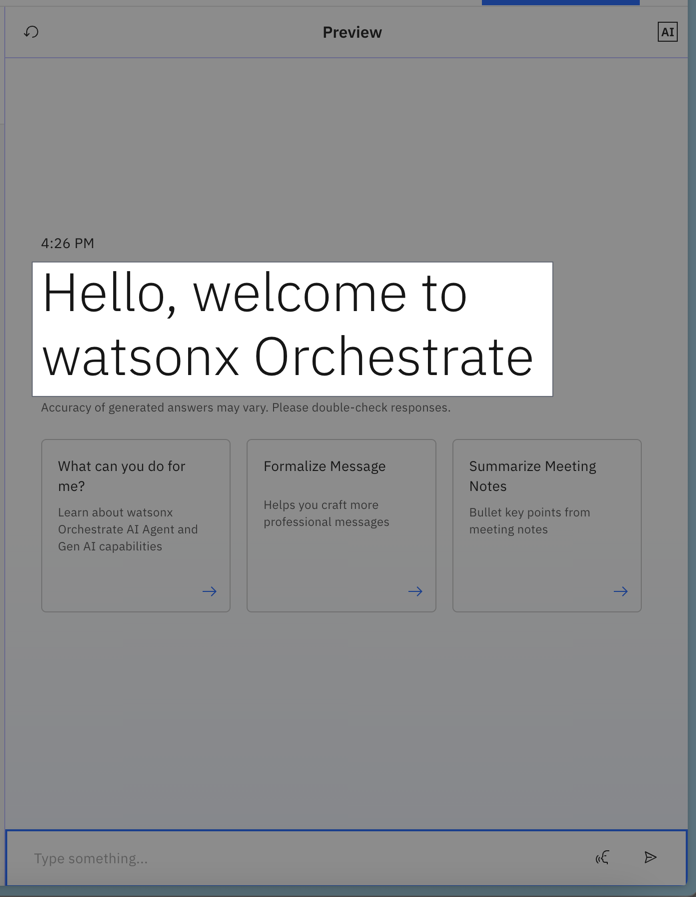
Welcome message example
welcome_content schema in your agent file by using the following:
Example:
Starter prompts
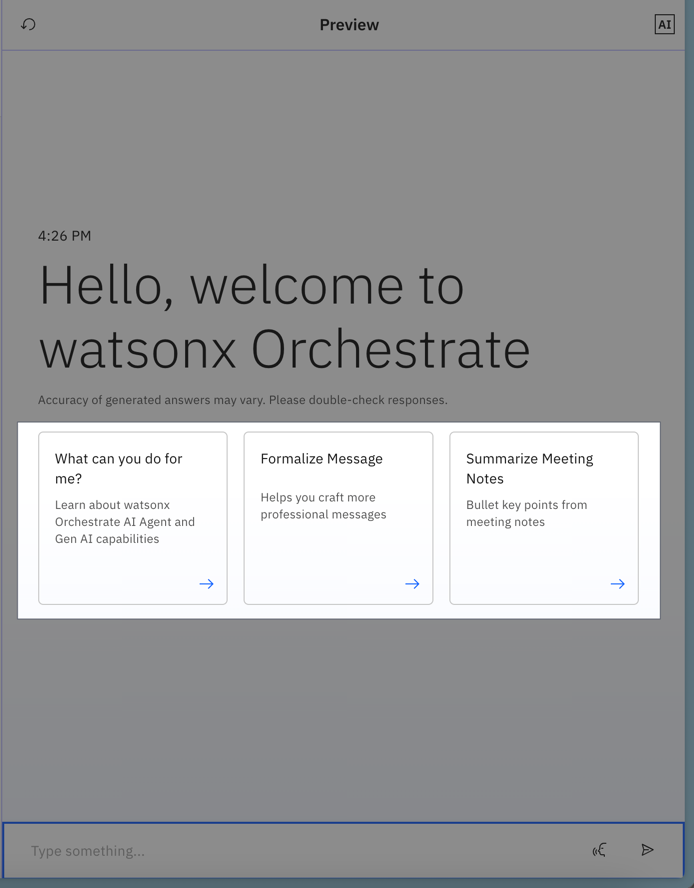
Starter prompts example
starter_prompts section of your agent file.
Start by defining whether these prompts are the default set. Then, for each prompt, configure the following:
Example:
Agent styles
Agent styles dictate how the agents follow instructions and the way that the agents behave. Currently, you can choose from three available styles:Default style
The Default (default) style is a streamlined, tool-centric reasoning mode ideal for straightforward tasks. It relies on the LLM’s prompt-driven decision-making to decide which tool to use, how to use it, and when to respond. This style is excellent when the logic is mostly linear, like retrieving a report or checking a ticket, because the agent uses the LLM’s intrinsic capabilities to orchestrate tool calls on the fly.
It is ideal for:
- Single-step or lightly sequential tasks
- Scenarios where flexibility and adaptability are needed
- Tasks that might require multiple tools but don’t need strict sequencing
- Iteratively prompts the LLM to:
- Identify which tool or collaborator agent to invoke
- Determine what inputs to use
- Decide whether to call more tools or finalize a response
- Continues the prompting loop as needed until it gathers sufficient context for a final answer.
- Python tools
- OpenAPI tools
- MCP tools
- Extract information from the web or from a system
- Check the status of a task or ticket
- Perform tasks that require well-defined steps
ReAct style
The ReAct (react) style (Reasoning and Acting) is an iterative loop where the agent thinks, acts, and observes continuously. It is designed for complex or ambiguous problems where each outcome influences the next action. Inspired by the ReAct methodology, this pattern surfaces the agent’s chain of thought, supporting validation, step-by-step reasoning, and interactive confirmation.
A ReAct agent breaks the task into smaller parts, and starts reasoning through each step before taking an action and deciding on which tools to use. The agent then adjusts its actions based on what it learns along the way, and it might ask the user for confirmation to continue working on the given task.
It is ideal for:
- Exploratory or research-intensive tasks
- Scenarios requiring iterative validation or hypothesis testing
- Tasks with unclear or evolving requirements
- Situations where transparent reasoning and reflection are valuable
- Think: Assess the user’s request and decide on a tool, collaborator, or reasoning step.
- Act: Execute the tool or collaborator.
- Observe: Evaluate the outcome and adjust reasoning.
- Repeat until the goal is achieved.
- Knowledge-intensive tools
- Data-intensive tools
- Collaborator agents
- Coding an application or tool by generating code snippets or refactoring existing code
- Answering complex questions by searching the web, synthesizing information, and citing sources
- Handling support tickets that require complex interactions with users
Plan-Act style
The Plan-Act (planner) style agent emphasizes upfront planning followed by stepwise execution. Initially, the agent uses the LLM to create a structured action plan, a sequence of tasks to execute, with all the tools and collaborator agents to invoke. Once the plan is in place, it carries out each step in order. This approach supports dynamic replanning if unexpected changes occur, leveraging the agent’s oversight over multi-step workflows.
A planner style agent is capable of customizing the response output.
By default, the planner style generates a summary of the tasks planned and executed by the planner agent if you don’t provide a custom response output.
It is ideal for:
- Multi-step, structured workflows
- Business processes needing transparency and traceability
- Automations involving multiple domains or collaborator agents
- Python tools
- OpenAPI tools
- MCP tools
- Collaborator agents
- Creating structured reports
- Agents that use multiple tools (for example, search, calculator, code execution) and need to combine results
- Drafting contracts, policies, or compliance checklists
Customizing the response output with the Plan-Act agent
To customize the output, you can define either astructured_output field or a custom_join_tool field, as follows:
structured_output and custom_join_tool are mutually exclusive. If you provide one of them, do not provide the other.structured_output defines the schema of how the data should be returned from the agent.
The custom_join_tool is a normal Python tool that dictates how the output of the agent should look like, giving you total control of how the output looks instead of being generated by the LLM. You can see the following example of a custom_join_tool:
custom_join_tool.py
Guidelines
You can configure guidelines to control agent behavior. Guidelines are similar to instructions but more structured, providing stronger guarantees about how the agent responds. Use guidelines when you need predictable, rule-based behavior.-
Each guideline follows the format:
When
conditionthenperform an actionand/orinvoke a tool. - Only guidelines relevant to the current user utterance are included in the agent prompt. This reduces complexity for the LLM.
- Guidelines execute in priority order, based on their position in the list.
- Only guidelines whose condition is relevant to the current user utterance will be injected into the agent prompt, reducing the complexity of the task posed to the LLM.
- Guidelines are invoked in priority order (the order they are listed).
Knowledge
Agent Knowledge allows you to provide information that the agent should inherently know and use to answer questions. This knowledge can come from documents you upload or from various data sources integrated with watsonx Orchestrate, such as Milvus, Elasticsearch, AstraDB, and others.Chat with documents
In addition to Knowledge, builders can enable the Chat with Documents feature. This allows users to upload a document during a conversation and ask questions about its content—without permanently storing the document in watsonx Orchestrate. Unlike Knowledge, which persists documents, Chat with Documents handles them only for the duration of the session.Note:
When this feature is enabled, users can upload documents during chat interactions. The agent uses the file name to route prompts to the correct document, so ensure that uploaded file names are unique and meaningful to avoid confusion.
Providing access to context variables
Context variables let builders inject user-specific identifiers, such as username, user ID, or tenant ID, from upstream systems into their agents. This enables personalized, context-aware interactions throughout the agent’s execution. Out of the box, the following variables are available to your agents:wxo_email_id- The email address used by the user that invoked the agent/toolwxo_user_name- The username of the user that invoked the agent/toolwxo_tenant_id- The wxo tenant id (unique wxo instance identifier) of the request
For scheduled workflows, the email address and username will be that of the user who originally scheduled the workflow.
context within the request body (not context_variables) when using any of the following endpoints:
By default, agents invoked during a run cannot access context variables. To enable this, set the context_access_enabled field to true.
After enabling context access, you must specify the context_variables the agent will use. These variables define which contextual details, such as user identifiers or session data, are available during execution.
You can reference these variables in descriptions, guidelines, or instructions using curly braces (for example, {my_context_variable}), or pass them as arguments to a Python function. In the latter case, the agent runtime automatically fills the values without prompting the user.