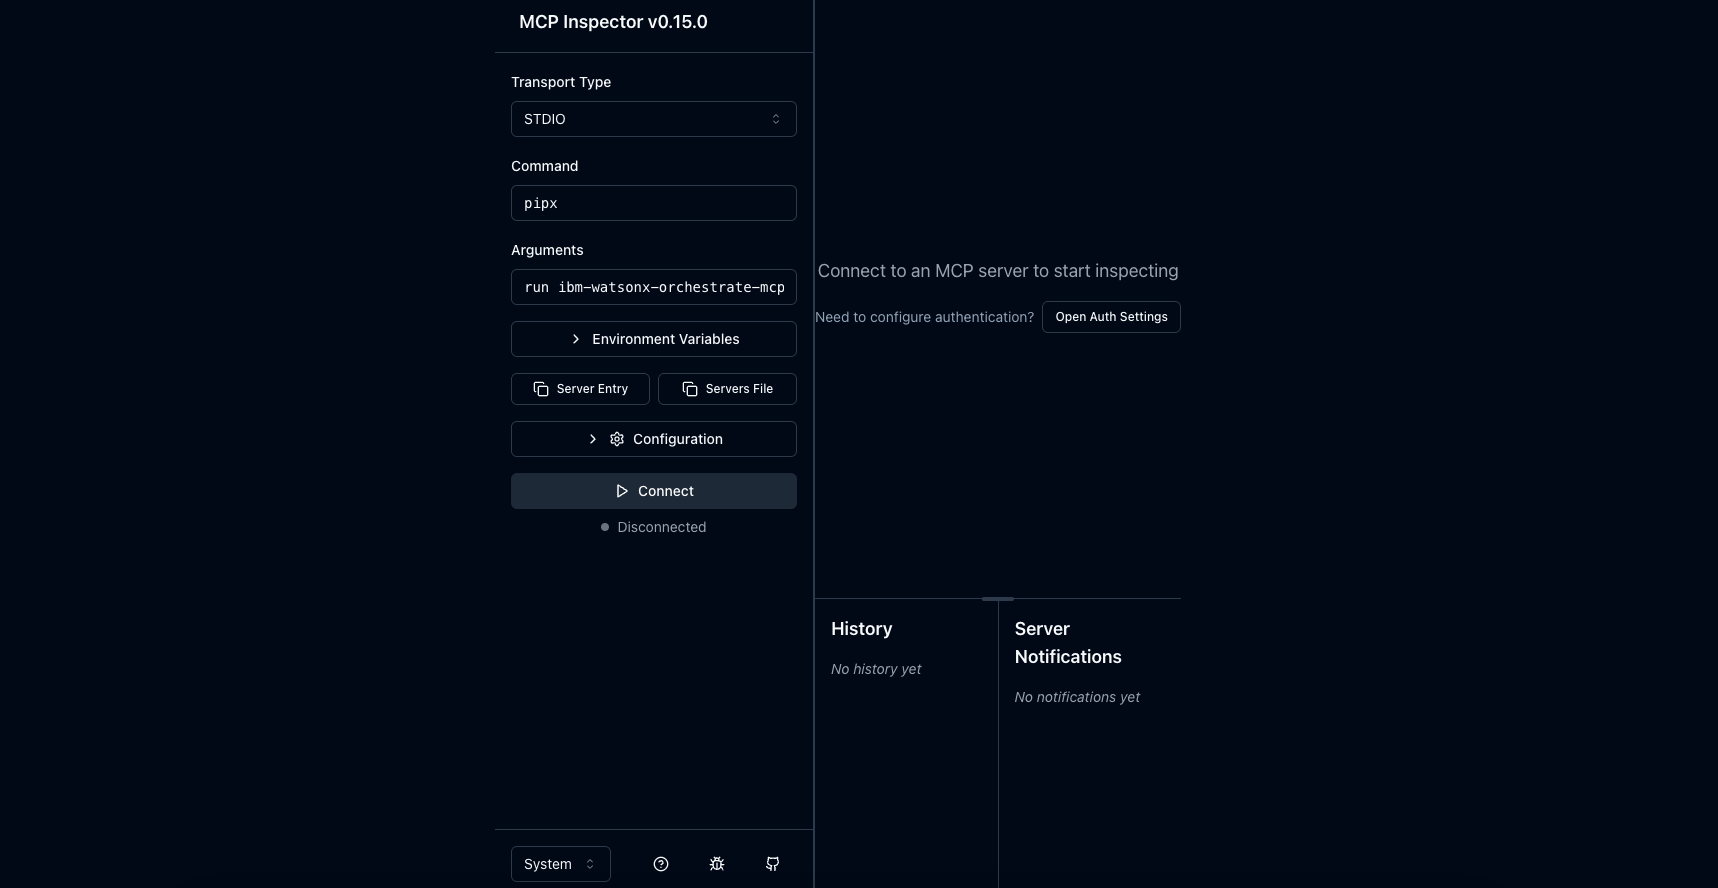
To use the MCP Server, connect it to an MCP Client. The sections below show how to do that for several popular MCP Clients. If your client isn’t listed, check its documentation for connection instructions.

STDIO Transport

  • Claude Desktop
  • GitHub Copilot
  • Cursor
  • MCP Inspector
  • 🚧 watsonx Orchestrate
1

Open the Settings Developer

claude_desktop_settings.png
2

Edit the `claude_desktop_config.json` file

Click “Edit Config” to navigate to where the claude_desktop_config.json file is on disk.
Open the file in any text editor.
3

Add the MCP Server

Paste the following into the file:
JSON
{
    "mcpServers":{
        "wxo-mcp":{
            "command":"uvx",
            "args":[
                "--with",
                "ibm-watsonx-orchestrate==1.13.0",
                "ibm-watsonx-orchestrate-mcp-server"
            ],
            "env":{
                "WXO_MCP_WORKING_DIRECTORY":"sample/working/directory"
            },
            "wxo-docs":{
                "command":"uvx",
                "args":[
                    "mcp-proxy",
                    "--transport",
                    "streamablehttp",
                    "https://developer.watson-orchestrate.ibm.com/mcp"
                ]
            }
        }
    }
}
4

Restart Claude Desktop

Remote Transports (SSE/HTTP STREAMABLE)

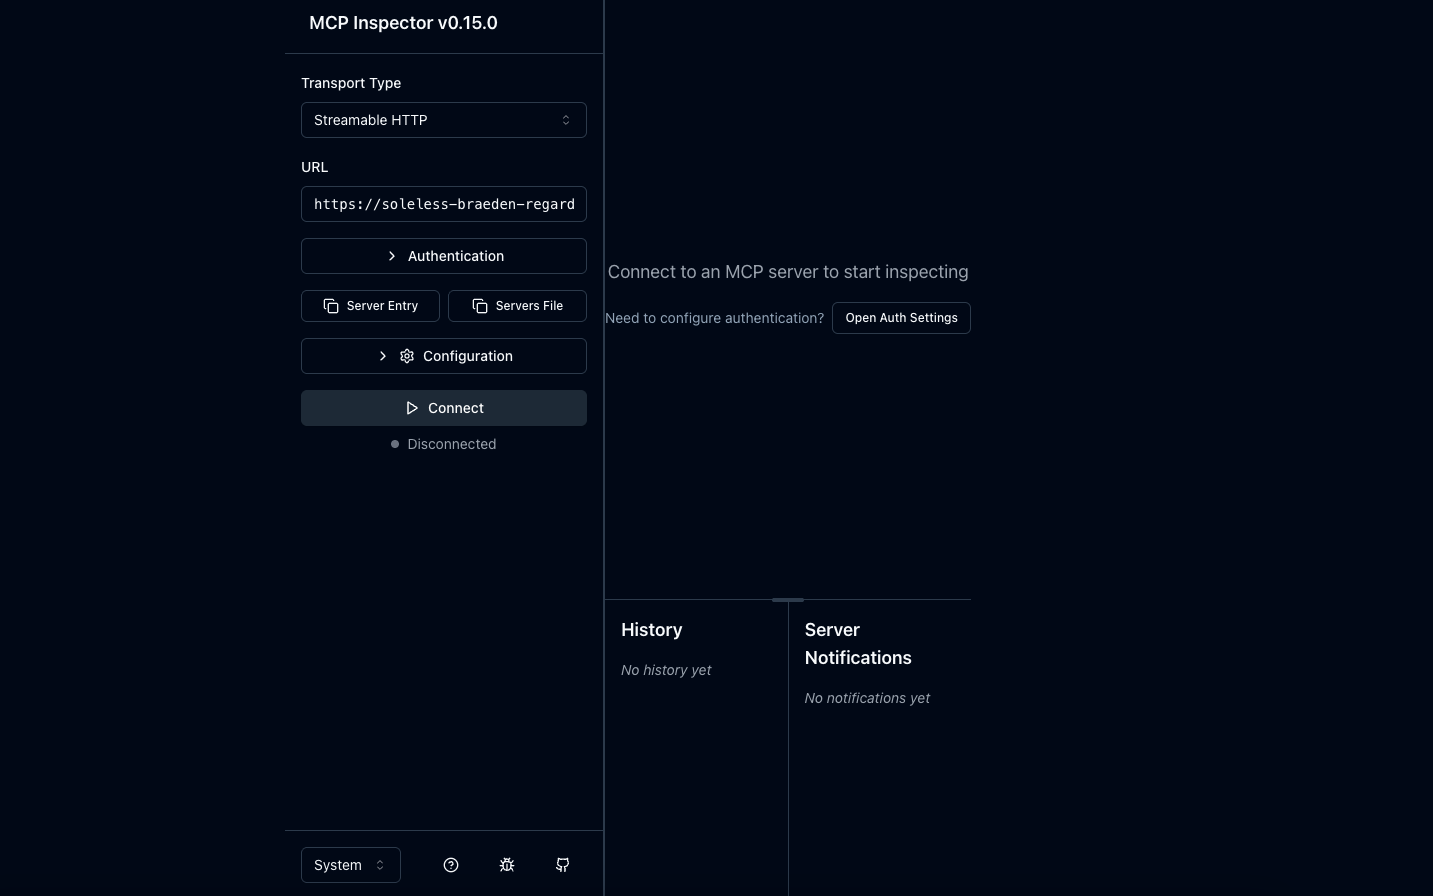
Remote transports let you connect clients to already running instances of the watsonx Orchestrate MCP Server. Use this setup to share a single instance across multiple clients or to connect a remote client to a server running on your local machine.
  • watsonx Orchestrate
  • Claude Desktop
  • GitHub Copilot
  • Cursor
  • MCP Inspector
For more details on importing remote MCP servers into Orchestrate, see Importing remote MCP toolkits.
  • ADK
BASH
    orchestrate toolkits import --kind mcp --name <toolkit-name> --description <toolkit-description>  --url <toolkit-url>  --transport <protocol-for-remote-mcp> --tools <tools>  --app-id <connection>
I