> ## Documentation Index
> Fetch the complete documentation index at: https://developer.watson-orchestrate.ibm.com/llms.txt
> Use this file to discover all available pages before exploring further.
# Connecting MCP Clients to the watsonx Orchestrate ADK MCP Server
To use the MCP Server, connect it to an MCP Client. The sections below show how to do that for several popular MCP Clients. If your client isn’t listed, check its documentation for connection instructions.
## STDIO Transport
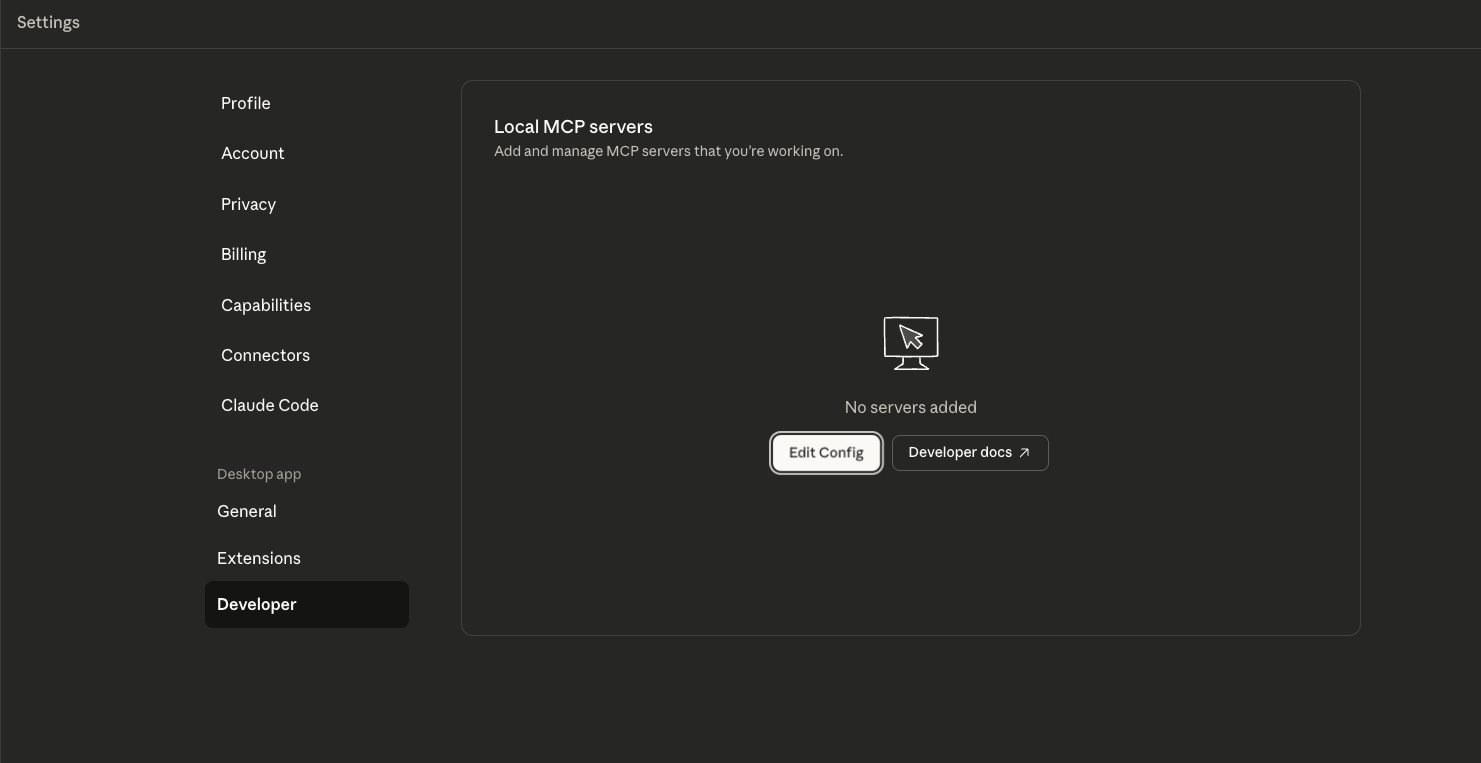 Click "Edit Config" to navigate to where the `claude_desktop_config.json` file is on disk.\
Open the file in any text editor.
Paste the following into the file:
```json JSON theme={null}
{
"mcpServers":{
"wxo-mcp":{
"command":"uvx",
"args":[
"--with",
"ibm-watsonx-orchestrate==1.13.0",
"ibm-watsonx-orchestrate-mcp-server"
],
"env":{
"WXO_MCP_WORKING_DIRECTORY":"sample/working/directory"
},
"wxo-docs":{
"command":"uvx",
"args":[
"mcp-proxy",
"--transport",
"streamablehttp",
"https://developer.watson-orchestrate.ibm.com/mcp"
]
}
}
}
}
```
Create a new file in your workspace called `.vscode/mcp.json`
```json JSON theme={null}
{
"servers": {
"wxo-mcp": {
"command": "uvx",
"args": [
"--with",
"ibm-watsonx-orchestrate==1.13.0",
"ibm-watsonx-orchestrate-mcp-server"
],
"env": {
"WXO_MCP_WORKING_DIRECTORY":"sample/working/directory"
}
},
"wxo-docs": {
"command": "uvx",
"args": [
"mcp-proxy",
"--transport",
"streamablehttp",
"https://developer.watson-orchestrate.ibm.com/mcp"
],
}
}
}
```
Press `Ctrl+P`, type `>MCP: List Servers`, and select `wxo-mcp`.
Click the start server option.
Create a new file in your workspace called `.cursor/mcp.json`
```json JSON theme={null}
{
"servers": {
"wxo-mcp": {
"command": "uvx",
"args": [
"--with",
"ibm-watsonx-orchestrate==1.13.0",
"ibm-watsonx-orchestrate-mcp-server"
],
"env": {
"WXO_MCP_WORKING_DIRECTORY":"sample/working/directory"
}
},
"wxo-docs": {
"command": "uvx",
"args": [
"mcp-proxy",
"--transport",
"streamablehttp",
"https://developer.watson-orchestrate.ibm.com/mcp"
],
}
}
}
```
Press `Ctrl+P`, type `>MCP: List Servers`, and select `wxo-mcp`.
Click the start server option.
```bash BASH theme={null}
npx @modelcontextprotocol/inspector
```
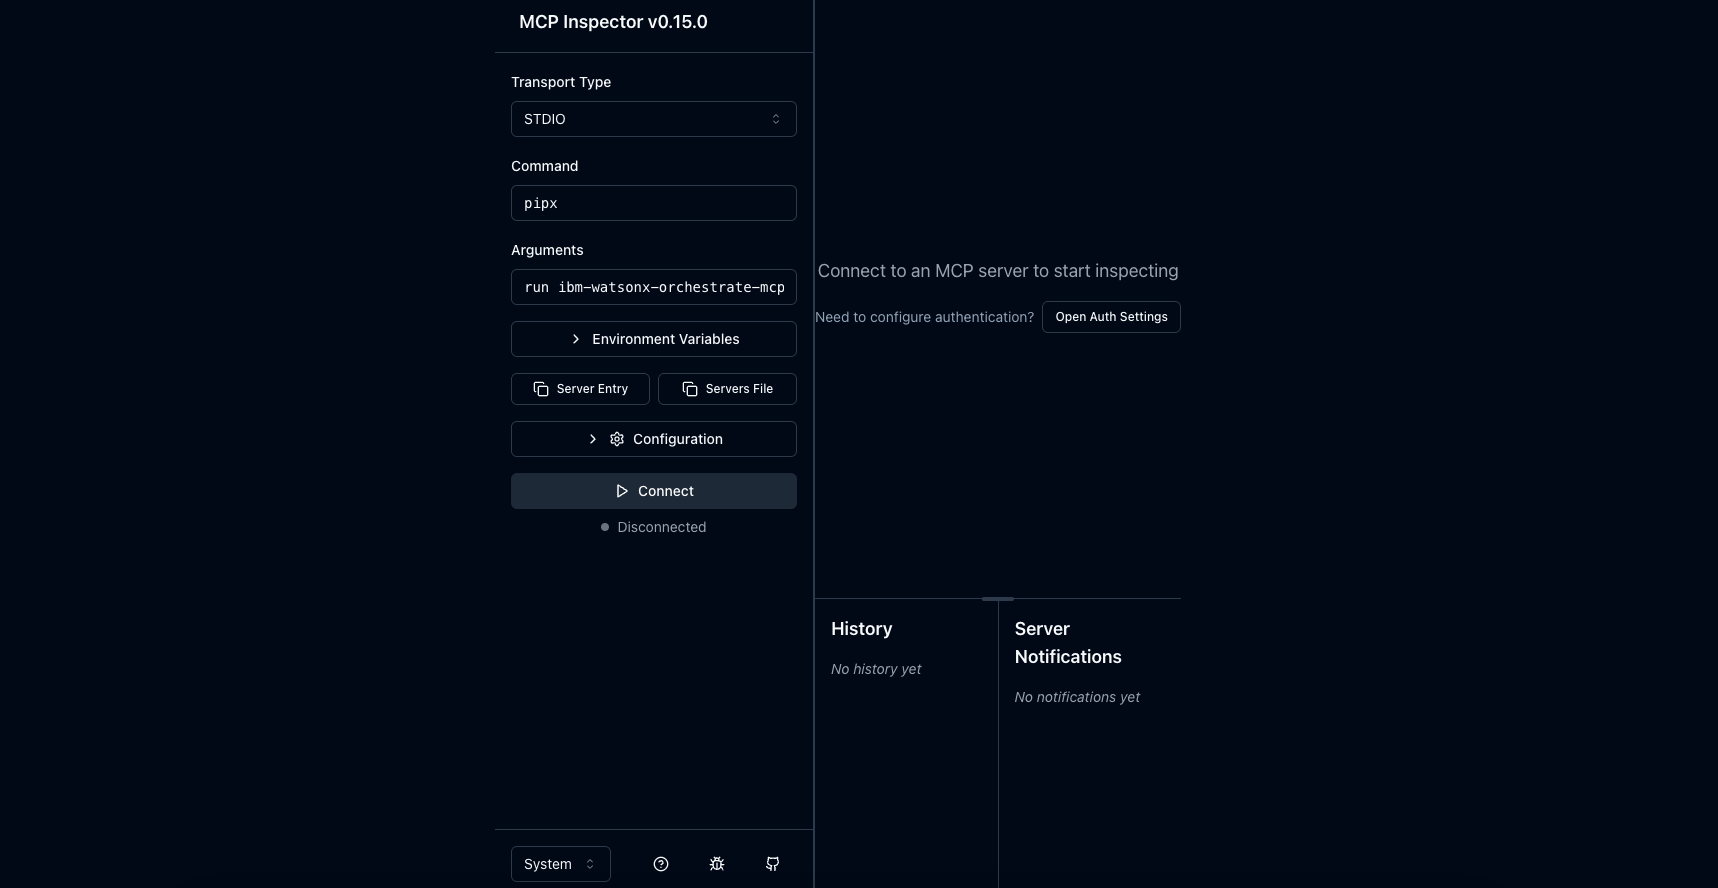
1. Set transport to `STDIO`
2. Command: `pipx`
3. Argurments: `run ibm-watsonx-orchestrate-mcp-server`
4. Set any required environment variables
5. Click **Connect**
Click "Edit Config" to navigate to where the `claude_desktop_config.json` file is on disk.\
Open the file in any text editor.
Paste the following into the file:
```json JSON theme={null}
{
"mcpServers":{
"wxo-mcp":{
"command":"uvx",
"args":[
"--with",
"ibm-watsonx-orchestrate==1.13.0",
"ibm-watsonx-orchestrate-mcp-server"
],
"env":{
"WXO_MCP_WORKING_DIRECTORY":"sample/working/directory"
},
"wxo-docs":{
"command":"uvx",
"args":[
"mcp-proxy",
"--transport",
"streamablehttp",
"https://developer.watson-orchestrate.ibm.com/mcp"
]
}
}
}
}
```
Create a new file in your workspace called `.vscode/mcp.json`
```json JSON theme={null}
{
"servers": {
"wxo-mcp": {
"command": "uvx",
"args": [
"--with",
"ibm-watsonx-orchestrate==1.13.0",
"ibm-watsonx-orchestrate-mcp-server"
],
"env": {
"WXO_MCP_WORKING_DIRECTORY":"sample/working/directory"
}
},
"wxo-docs": {
"command": "uvx",
"args": [
"mcp-proxy",
"--transport",
"streamablehttp",
"https://developer.watson-orchestrate.ibm.com/mcp"
],
}
}
}
```
Press `Ctrl+P`, type `>MCP: List Servers`, and select `wxo-mcp`.
Click the start server option.
Create a new file in your workspace called `.cursor/mcp.json`
```json JSON theme={null}
{
"servers": {
"wxo-mcp": {
"command": "uvx",
"args": [
"--with",
"ibm-watsonx-orchestrate==1.13.0",
"ibm-watsonx-orchestrate-mcp-server"
],
"env": {
"WXO_MCP_WORKING_DIRECTORY":"sample/working/directory"
}
},
"wxo-docs": {
"command": "uvx",
"args": [
"mcp-proxy",
"--transport",
"streamablehttp",
"https://developer.watson-orchestrate.ibm.com/mcp"
],
}
}
}
```
Press `Ctrl+P`, type `>MCP: List Servers`, and select `wxo-mcp`.
Click the start server option.
```bash BASH theme={null}
npx @modelcontextprotocol/inspector
```
1. Set transport to `STDIO`
2. Command: `pipx`
3. Argurments: `run ibm-watsonx-orchestrate-mcp-server`
4. Set any required environment variables
5. Click **Connect**
 **Work in Progress**
STDIO support is currently limited for the watsonx Orchestrate MCP Server when running in watsonx Orchestrate. This is due to watsonx Orchestrate's secure execution architecture preventing the use of configuration files that the Orchestrate ADK relies on for connecting to instances.
## Remote Transports (SSE/HTTP STREAMABLE)
Remote transports let you connect clients to already running instances of the watsonx Orchestrate MCP Server. Use this setup to share a single instance across multiple clients or to connect a remote client to a server running on your local machine.
For more details on importing remote MCP servers into Orchestrate, see [Importing remote MCP toolkits](/tools/toolkits/remote_mcp_toolkits).
```bash BASH theme={null}
orchestrate toolkits add --kind mcp --name --description --url --transport --tools --app-id
```
Currently Remote MCP is only supported by premium accounts in Claude Desktop. See their docs on [Connecting to a Remote MCP Server](https://modelcontextprotocol.io/docs/develop/connect-remote-servers#connecting-to-a-remote-mcp-server)
Create a new file in your workspace called `.vscode/mcp.json`
```json JSON theme={null}
{
"servers": {
"wxo-mcp": {
"type": "http", // transport either "http" or "sse"
"url":
},
"wxo-docs": {
"type": "http",
"url": "https://developer.watson-orchestrate.ibm.com/mcp"
}
}
}
```
Press `Ctrl+P`, type `>MCP: List Servers`, and select `wxo-mcp`.
Click the start server option.
Create a new file in your workspace called `.cursor/mcp.json`
```json JSON theme={null}
{
"servers": {
"wxo-mcp": {
"type": "http", // transport either "http" or "sse"
"url":
},
"wxo-docs": {
"type": "http",
"url": "https://developer.watson-orchestrate.ibm.com/mcp"
}
}
}
```
Press `Ctrl+P`, type `>MCP: List Servers`, and select `wxo-mcp`.
Click the start server option.
```bash BASH theme={null}
npx @modelcontextprotocol/inspector
```
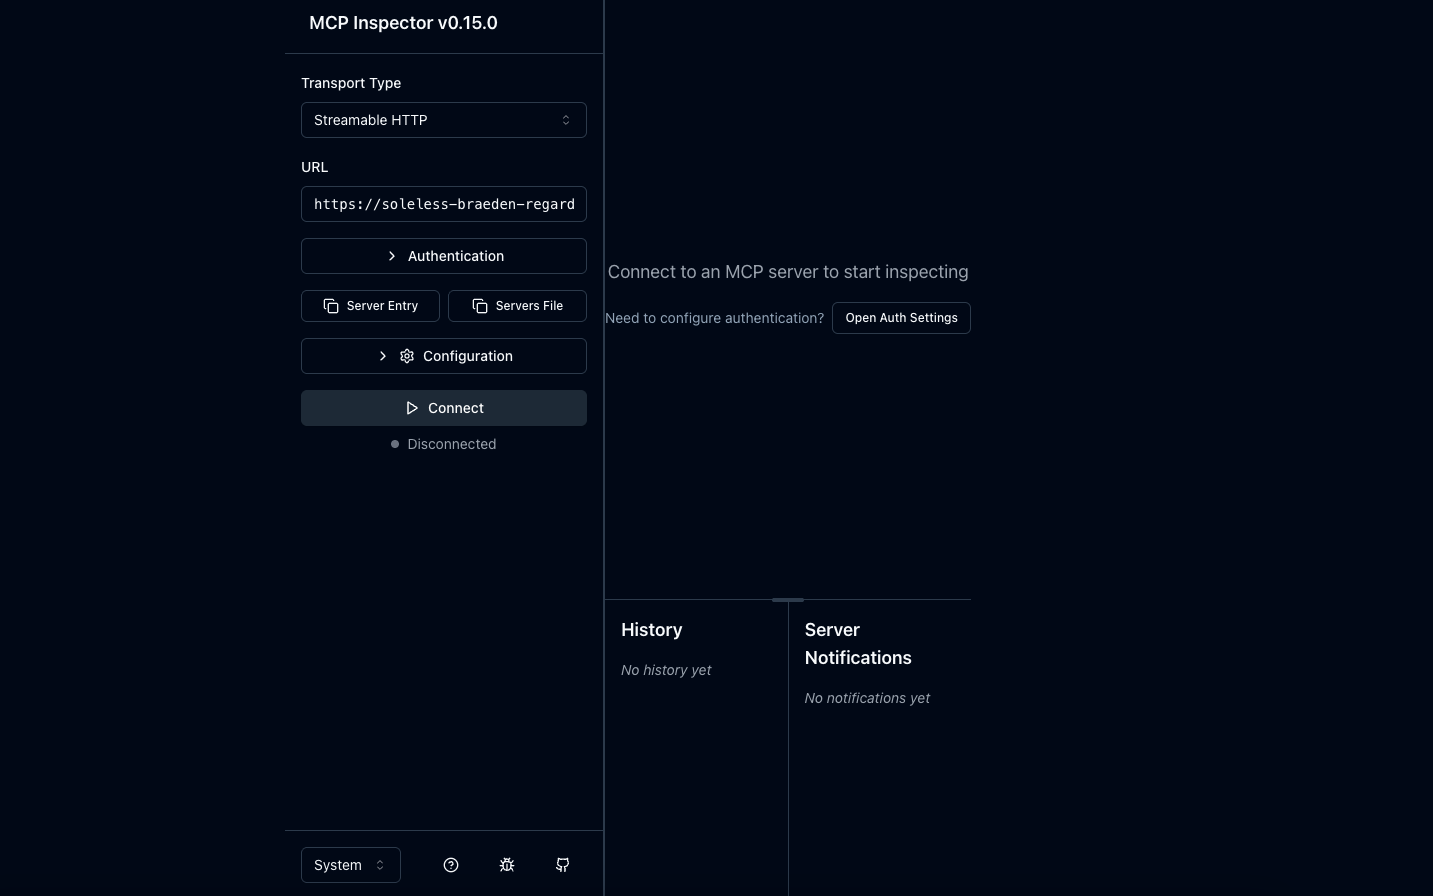
1. Set transport to `SSE` or `Steamable HTTP`
2. Set the URL to your watsonx Orchestrate MCP Server
3. Click **Connect**
**Work in Progress**
STDIO support is currently limited for the watsonx Orchestrate MCP Server when running in watsonx Orchestrate. This is due to watsonx Orchestrate's secure execution architecture preventing the use of configuration files that the Orchestrate ADK relies on for connecting to instances.
## Remote Transports (SSE/HTTP STREAMABLE)
Remote transports let you connect clients to already running instances of the watsonx Orchestrate MCP Server. Use this setup to share a single instance across multiple clients or to connect a remote client to a server running on your local machine.
For more details on importing remote MCP servers into Orchestrate, see [Importing remote MCP toolkits](/tools/toolkits/remote_mcp_toolkits).
```bash BASH theme={null}
orchestrate toolkits add --kind mcp --name --description --url --transport --tools --app-id
```
Currently Remote MCP is only supported by premium accounts in Claude Desktop. See their docs on [Connecting to a Remote MCP Server](https://modelcontextprotocol.io/docs/develop/connect-remote-servers#connecting-to-a-remote-mcp-server)
Create a new file in your workspace called `.vscode/mcp.json`
```json JSON theme={null}
{
"servers": {
"wxo-mcp": {
"type": "http", // transport either "http" or "sse"
"url":
},
"wxo-docs": {
"type": "http",
"url": "https://developer.watson-orchestrate.ibm.com/mcp"
}
}
}
```
Press `Ctrl+P`, type `>MCP: List Servers`, and select `wxo-mcp`.
Click the start server option.
Create a new file in your workspace called `.cursor/mcp.json`
```json JSON theme={null}
{
"servers": {
"wxo-mcp": {
"type": "http", // transport either "http" or "sse"
"url":
},
"wxo-docs": {
"type": "http",
"url": "https://developer.watson-orchestrate.ibm.com/mcp"
}
}
}
```
Press `Ctrl+P`, type `>MCP: List Servers`, and select `wxo-mcp`.
Click the start server option.
```bash BASH theme={null}
npx @modelcontextprotocol/inspector
```
1. Set transport to `SSE` or `Steamable HTTP`
2. Set the URL to your watsonx Orchestrate MCP Server
3. Click **Connect**