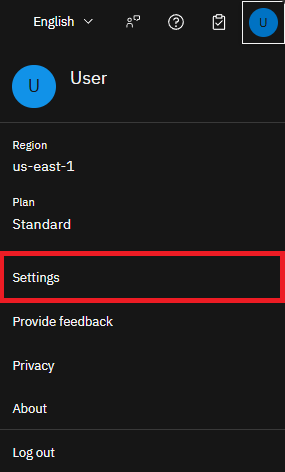
 3. Open the **API details** tab.
4. Copy your service instance URL.
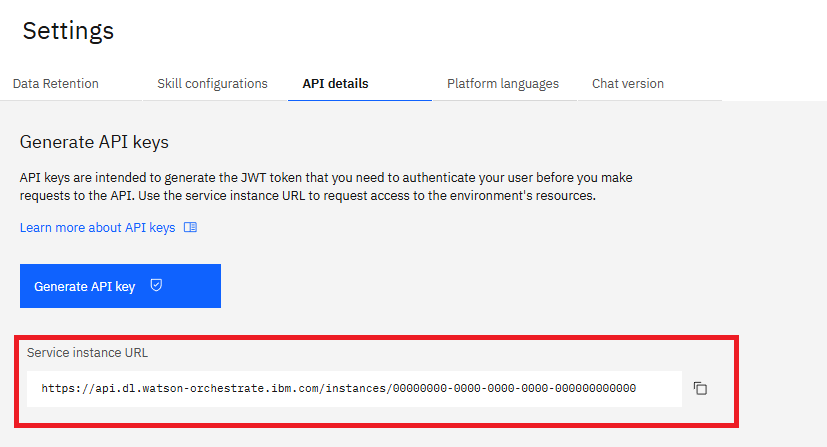
3. Open the **API details** tab.
4. Copy your service instance URL.
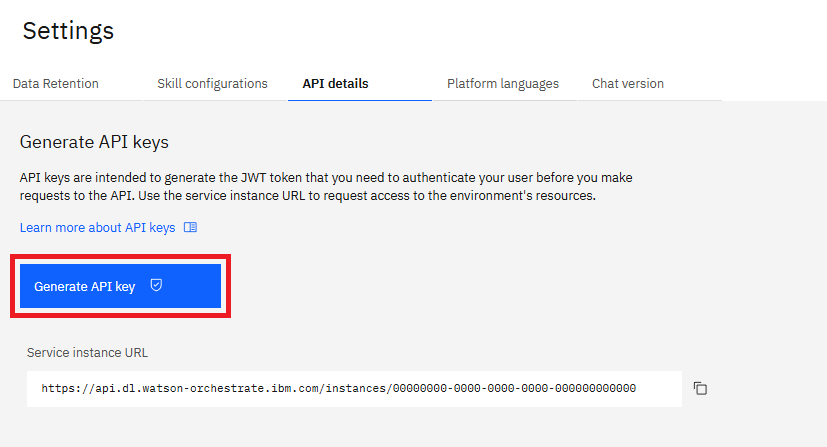
 3. Open the **API details** tab.
4. Click **Generate API key**.
3. Open the **API details** tab.
4. Click **Generate API key**.
watsonx Orchestrate Developer Edition uses several services. You configure their credentials manually in the `.env` file.
**Note:**
If you already configured service credentials, setting these variables replaces your previous credentials when you start the server.
The root user for the Minio object storage service.
The username for the Langfuse service used for observability and tracing.
The basic authentication username for the MCP Gateway service.
The username for the ClickHouse analytical database service.
The password for the PostgreSQL database used by the platform.
The root password for the Minio object storage service.
The password for the Langfuse service.
The basic authentication password for the MCP Gateway service.
The administrator password for the MCP Gateway service.
The password for the ClickHouse analytical database service.
The password for the Elasticsearch or OpenSearch service used for indexing and search.
The password for the Milvus vector database service.
The encryption key you use to secure sensitive database fields.
```txt .env Example theme={null}
MINIO_ROOT_USER=minioadmin
LANGFUSE_USERNAME=orchestrate
MCP_GATEWAY_BASIC_USER=admin
CLICKHOUSE_USER=clickhouse
POSTGRES_PASSWORD=postgres
MINIO_ROOT_PASSWORD=watsonxorchestrate
LANGFUSE_PASSWORD=orchestrate
MCP_GATEWAY_BASIC_PASSWORD=MCPbasic
MCP_GATEWAY_ADMIN_PASSWORD=MCPadmin
CLICKHOUSE_PASSWORD=clickhouse
ES_PASSWORD=Elasticsearch
MILVUS_PASSWORD=Milvus
DB_ENCRYPTION_KEY=db_encryption_key
```
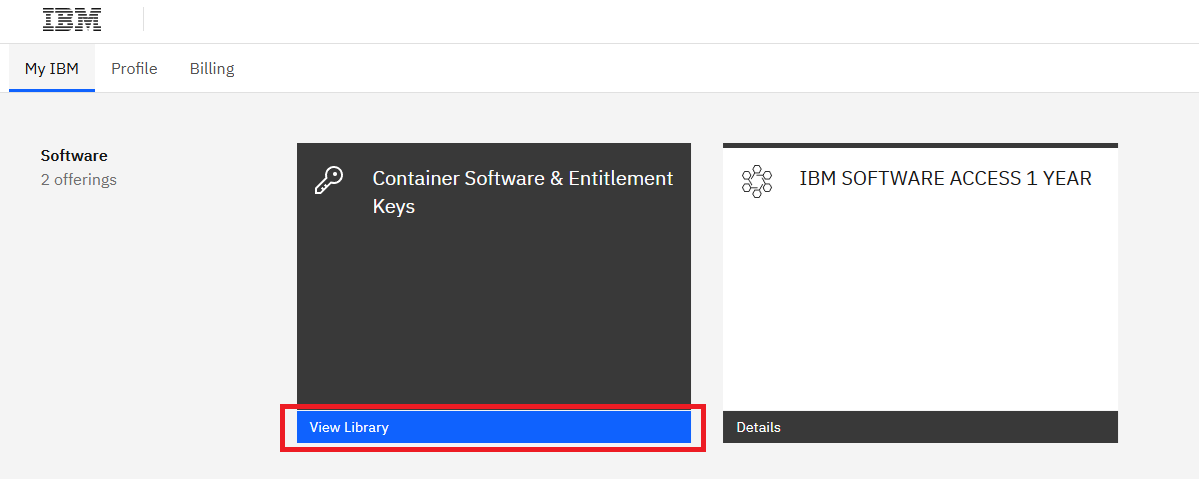 3. Click **Add a new key +**.
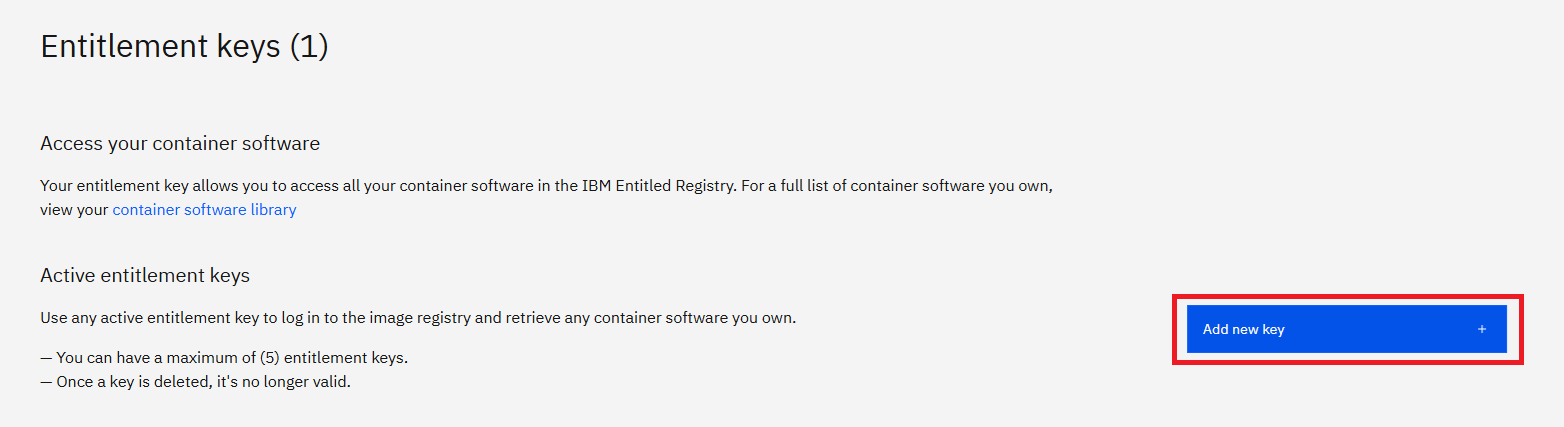 4. Copy the entitlement key.
watsonx Orchestrate Developer Edition uses several services. You configure their credentials manually in the `.env` file.
**Note:**
If you already configured service credentials, setting these variables replaces your previous credentials when you start the server.
The root user for the Minio object storage service.
The username for the Langfuse service used for observability and tracing.
The basic authentication username for the MCP Gateway service.
The username for the ClickHouse analytical database service.
The password for the PostgreSQL database used by the platform.
The root password for the Minio object storage service.
The password for the Langfuse service.
The basic authentication password for the MCP Gateway service.
The administrator password for the MCP Gateway service.
The password for the ClickHouse analytical database service.
The password for the Elasticsearch or OpenSearch service used for indexing and search.
The password for the Milvus vector database service.
The encryption key you use to secure sensitive database fields.
```txt .env Example theme={null}
MINIO_ROOT_USER=minioadmin
LANGFUSE_USERNAME=orchestrate
MCP_GATEWAY_BASIC_USER=admin
CLICKHOUSE_USER=clickhouse
POSTGRES_PASSWORD=postgres
MINIO_ROOT_PASSWORD=watsonxorchestrate
LANGFUSE_PASSWORD=orchestrate
MCP_GATEWAY_BASIC_PASSWORD=MCPbasic
MCP_GATEWAY_ADMIN_PASSWORD=MCPadmin
CLICKHOUSE_PASSWORD=clickhouse
ES_PASSWORD=Elasticsearch
MILVUS_PASSWORD=Milvus
DB_ENCRYPTION_KEY=db_encryption_key
```